Whether you're planning your first overnight mission or an epic mutli-country adventure, getting some pointers and tips from someone like Martin and Chrystal Freyer is never a bad idea. This power-couple is currently exploring Europe and all it has to offer, finding new places, meeting new people and allowing the road to take them on new adventures.
One can easily grab at excuses of not having enough time or the right equipment. Here is our advice on planning a bike-packing trip: Take some, leave some, and remember that this is just what we know. In our opinion, there is no right or wrong way to bikepack. Everyone must find what works for them.
It all starts with a plan. In our case, the plan was to have no plan (in terms of the route), although two things are essential before you can start your planning, your timeline and your budget.
Timeline
Timeline differs per person and trip. Sometimes, all you have is a week or a weekend. Other times you are more fortunate to take a sabbatical or a few months off. We have been fortunate enough to take an entire year off, but you don’t need a year to experience a bikepacking trip. We would define bikepacking as a trip lasting more than one day of riding, where you carry your things. So, even if you only have a long weekend, go for it.
Your timeline is important, as your route will likely spring from how much time you have – whether you stick locally or have enough time to travel through a country, a few countries, and possibly a continent or two.
Budget – firstly, do you have savings available or have time to save up/put some money aside before the trip? Budget is dependent on:
- Timeline
- Comfort of travel
- Countries or areas you plan on travelling to.
We started by reading blogs of other bike packers touring through the areas we had in mind (Italy, Greece, Norway, Spain, Portugal, etc.) and got a general idea of how much they spent on food and daily accommodation – we then settled on a budget of 40 Euro/day for two people, 10 euro for accommodation (considering our desire to wild camp) / 30 euro for food. Before you set up your budget, look at what you already have or what you can potentially borrow. If you already have camping equipment you can make use of some or most of it, notably if you can fit it on your bike. We did a lot of research on products and found there seems to be a triangle of aspects that one needs to weigh up; price, weight, and size, between these three it’s about finding the right balance that works for you.
Other things to consider when setting up your budget:
- Insurance (here we were lucky to have Hollard Namibia support us throughout our trip by ensuring all our valuables during our travels)
- Medical insurance cover
- Sim card/data
- Flights, if going abroad
- Local transport i.e., train/bus/ferry for big transfers
- Monthly expenses/deductions at home while abroad (i.e., retirement fund, medical aid, rent)
- Bike maintenance/repairs/spares (depending on how long/rural you go)
- Savings for when you return home (only applicable for a long-term trip like ours), you don’t want to end your trip without money and a job.
*Try to over budget, and underspend. Budget for unexpected expenses.
Once you have set up your budget, you will have a much better idea of what your trip might look like and how much you will need to save. Once the budget and timeline are set, it’s time to dive into the exciting adventure of planning!

Location
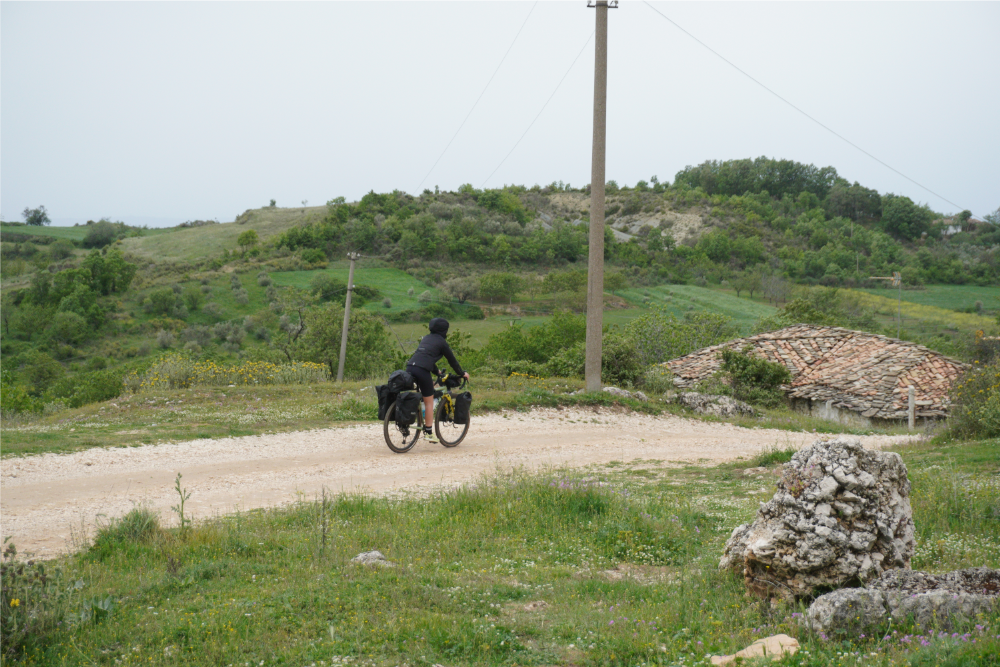
Travelling by bike allows you to explore an area to new depths. As a bikepacker, you are seen as travelling “vulnerably”, and so people are extremely inviting and friendly. You also travel much slower and thus take in more of your surroundings.
We chose Europe primarily because we thought it would be an easy way to start our bikepacking adventure, there are always towns close-by, water readily available, phone signal and WIFI practically everywhere, so we didn't require intense planning.
Things to consider when choosing a location:
- Cost of living in the area: this affects your budget.
- Familiarity: If you know people in the area it could bring your costs down, however, the more you know the area the less adventurous the trip might be.
- How densely populated is the area? In Europe, you can be in a town within 30 minutes of riding, which means that you don’t need to carry as much water and food. In contrast to areas in Namibia where you might go a week without meeting a single person, here one needs more consideration and planning.
- Riding surface: The bike you have and your riding skills can determine the areas that are accessible to you. It’s important to remember that when loaded with 20kg+ of luggage, your bike will ride differently over rough terrain.
The most important thing to remember is that you don’t have to travel to another continent to experience bikepacking. There may be mountain ranges a few kilometers from your hometown that you’ve never explored before, making them perfect for a bikepacking trip. Even that region of your own country, with a name you can’t pronounce, is worth checking out over a week-long tour.

Gear/ Equipment
Gear and equipment vary based on budget and preference, so below is only what we have and what we would recommend. We have been very fortunate to have amazing brands supporting us, as well as a longer pre-trip saving period which allowed us to afford some great products. However, for most things, you can get by with the basics or opt for DIY. For instance, Chrystal’s sister’s parents-in-law experienced their first bikepacking trip in Malawi back in 1983. They strapped woven baskets to their bikes and set off on a month-long adventure.
But, if you have the option and preference for amazing products, then here is our list:
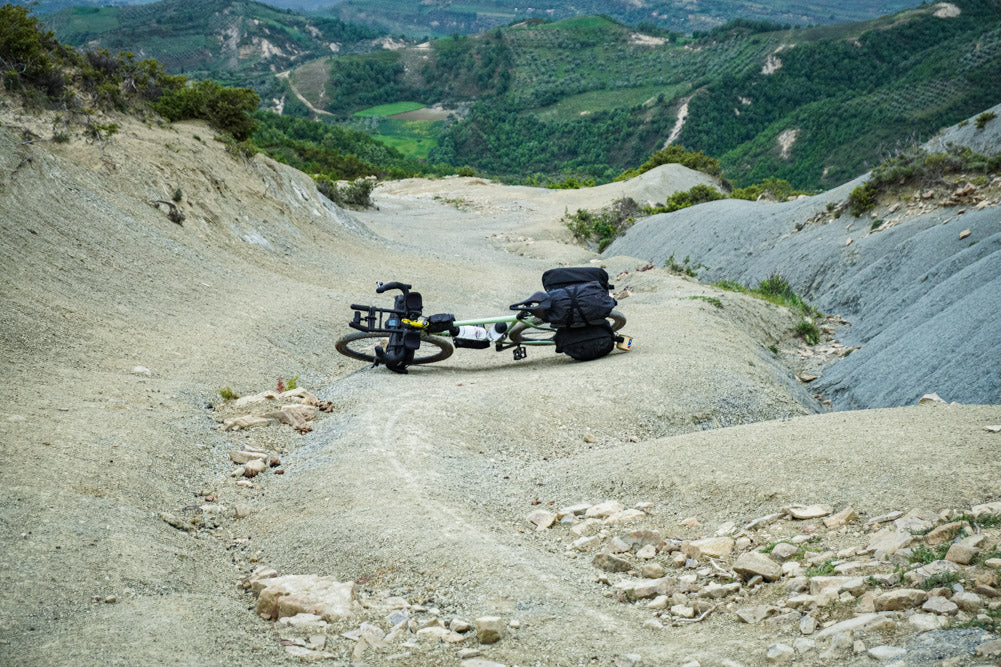
- Bike: gravel, road, or mountain depending on the terrain. We chose the Onguza Gravel Model 1 hand-crafted steel frames. They are made in Omaruru, Namibia, thus they have a special place in our hearts. Columbus carbon forks and SRAM AXS mullet set-up (40T in front, but after a week along the mountainous coast of Albania I would advise going 36-38T if you’re carrying 20kg+ of luggage. Comfort is key during bikepacking, which differs from ultra-distance racing). As for the critics, agreed, electronic shifting for touring wasn’t our initial thought either, but man is it good to have beautifully functioning shifting on these mountain passes. So, would we choose differently? Not really, unless we knew we had to do 1000km without a plug point in sight.
- Bikepacking bags: Bag size is dependent on what you take and your timeframe, as well as if you’ll be staying in accommodation or if you are willing/keen to camp. Seeing that we are kitted for wild camping we have a full Tailfin set up; Aero pack, 2x 22L panniers on the back, 2x 10L mini-panniers or 2x 5L cargo packs in front, a 3L downtube pack, and a 1.7L frame pack. This is what we started with, but we believe and have already experienced that your setup constantly changes as you adapt and realise what’s necessary. The beauty of being on the road for longer periods is the opportunity to optimise your setup to what works for you.
- Kitchen: stove (gas burners, alcohol, etc..), pots, plates, and cutlery. We opted for the Trangia stove and pot set with a gas burner. Here, again, you can get many setups depending on your preferences. For our past week of being in Albania having two pots and a pan has worked great. I think less than this would become uncomfortable.
- Tent: Tent choice will depend on the season you plan to travel in. We recommend a waterproof tent if your trip coincides with rainy or cold seasons. A big tip here, if you plan on wild camping, is to choose a tent that is a natural shade of green to blend into nature and not stick out. The top-of-the-range tents are extremely expensive, so it will be an investment, but you save a lot on costs if you decide to camp instead of staying in accommodation.
- Sleeping bag: If you plan to sleep in a tent then we advise you to invest in a good sleeping bag. A good night's rest is vital to be ready for the next day’s ride. We spent some time researching and looking on YouTube at different options, and these came down to personal preferences. We went with the Zinbivy setup, the reason being that we like the idea of a quilt, we both move around at night and their system allows this without a draft coming in from the side. What also works well is to have an extra sleeping bag liner with you. These are super small but very handy. On hot summer nights, you can sleep only with the liner, and on a cold winter's night, they add an extra 5-15 degrees of warmth.
- Sleeping mats: If you don’t have a proper sleeping mat then even the best sleeping bag won’t give you a warm night’s rest. Make sure to check the R-rating of your mattress, as well as handy tips like the direction of the air pockets and the amount of noise it makes when you turn over. We chose the Big Agnes Rapide SL.
- Pillow: Foam, no foam, air, fleece… the options are endless. You can spend copious amounts of money on this, we found a great combination of air with a foam layer at the Decathlon (sports shop) for something like 17 euros.

Clothing
There are three key factors to consider - space, durability, and convenience. When bikepacking over longer periods we recommend choosing items of clothing that can be worn ‘on’ as well as ‘off’ the bike (casually). This can be tricky because you probably spend the majority of time on the bike, but occasionally need something acceptable for a restaurant.
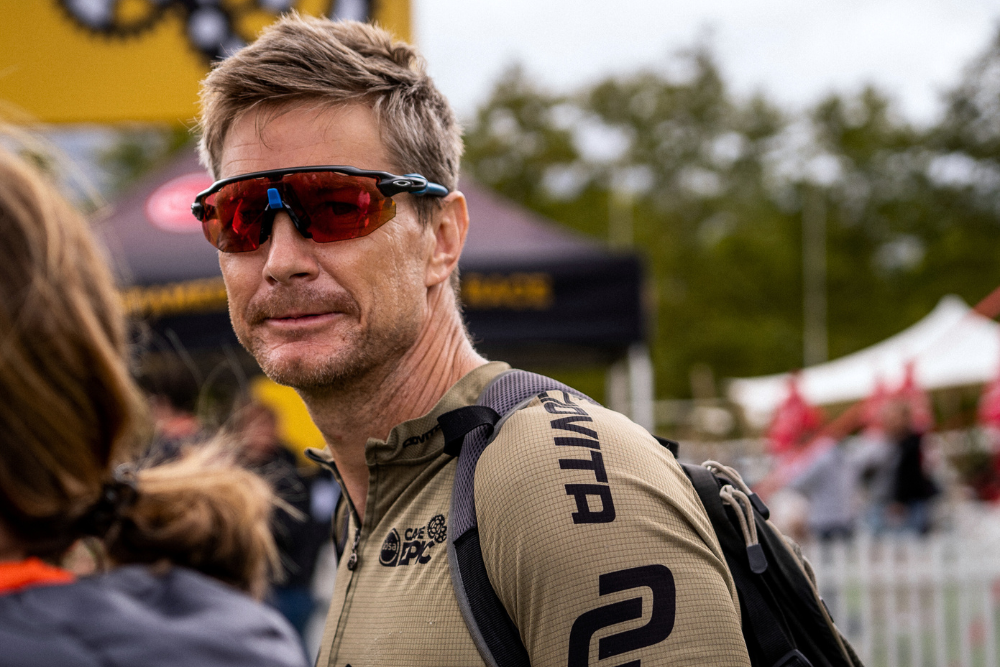
We are grateful to have had access to CIOVITA’s range which is just amazing, so we’ve managed to find everything we need.
On the Bike
Bibs: Apex and Supremo bibs, both cargo and normal (we love CIOVITA’s cargo bibs, there seems to be an infinite storage place ideal for long days on the bike. Some bikepackers do ride without padded pants, but we have found it very comfortable to be living in cycling gear, so if you have the option of sitting more comfortably then why not?
Trail baggies with trail liner shorts. Great for exploring a city where you want to fit into normally clothed crowds a bit more. The trail liner shorts pack super small and are a great option as an extra chamois.
Adventure shirts: the material is comfortable and breathable and pretty enough to wear to a restaurant with a sneaky pocket on the side for your wallet and phone.
Cold weather: Even though unusual for the start of the European summer season we have experienced some very wet and cold days. The key to that is layering up. CIOVITA’s range gives you the option for this. With the options of a Gilet, windbreaker, Contego Insulated jacket, and Pachetto waterproof jacket, we have had no problem staying both dry and warm. We love the hood on the Pachetto jacket, as it fits over your helmet. All this with a Merino undervest, and I believe we should be ready for winter.

Off the Bike
We rarely get out of our cycling clothing because it really is so comfortable and looks great too. However, when we do, these have been our choices, they are also great on the bike for more casual days around the city.
Merino socks: they dry quickly, are super comfortable, and are not too hot, but keep you warm and they don't become too smelly over time. Merino shirts: same as the socks, and great to ride in as well.
Puffy jacket: I haven’t ridden in this quite yet, but my go-to when I get off the bike and in the evenings.
Merino beanie that is also thin enough to fit underneath your helmet, and then a Cadence knitted one for off the bike.
Casual shirts, short and long sleeves as well as a jacket.
Shoes: This was a long debate for us about going with or without cleats. Most bikepackers leave the cleats at home, mainly for comfort but also for injury prevention. We were leaning that way but then decided at the last minute to take them along. The shoe collection consists of our cleats, then I couldn’t leave my Vellies behind, and a pair of sandals, Birkenstocks for Chrystal.

Gadgets
Bikepackers love their gadgets, and they love even more to compare gadgets and apps when you cross paths on the road.
Navigation
We’ve used the Komoot app to plan our routes. This is very handy and easy to upload to your device. A quick tip: if you are touring with 20kg+ make sure to check where the route is taking you. The gravel option takes you on beautiful routes, but these routes are sometimes unrideable with that amount of weight, whereas the touring option is easy riding but often on more mundane roads or close to a highway. Both our head units have built-in maps which are very handy to navigate while riding.
Camera and filming
The best camera to use is the one that is the quickest accessible. We have a GoPro, a Sony a6400, and a drone, but in the end, the most convenient is to use your phone and to be honest you save a lot of space without a full filming setup. If you do take a camera, I would recommend getting a proper cycling strap for it ( we were gifted one by a friend, and it has been perfect for what we need, it’s a “NODO Packs” strap with an extra chest strap. This strap allows you to cycle (or even trail run) with the camera strapped to your back without it swaying around and thus is also quickly accessible for a shot.
Random useful things
For sleeping, an eye mask and earbuds. We have camped in a few places where sound and light have been a major problem, so these two will come in handy (trust us, rather have them and not need them).
- A bar of clothes-washing soap. Much easier to transport than liquid, and you won’t always have access to washing machines.
- A hip bag: a small bag where you can easily put your belongings when you go into a shop or café.
- Journal. It is very therapeutic to document your trips and beautiful to look back at later in life.
- A sieve! A what? Yes, like the one you use to sieve flour with when baking a cake. It is one of the most useful things for camping long term as you eat lots of pasta and tinned foods, so it’s great for rinsing and draining, super lightweight, and technically when stuffed with a shirt or two takes no room in your bag (cut off the handle if you must). You can thank us later.
So now, you have a budget for your trip, you know how long you are going and where you are going, and you have the right equipment. Sometimes looking at a list like this is slightly overwhelming, but one should not overcomplicate things. In the end, it’s all about taking your bike out to explore, and somehow making it work.
Planning is important, but the beauty of bikepacking and meeting other bikepackers on the way is that everyone does it differently, and there is no one way to do it. Just start.
Another thing to remember while bikepacking is to take it slow, stop for that coffee, take your time talking to the farmer next to the road, and don’t be afraid to have a shorter day on the bike to camp in a beautiful spot. We are still learning day by day to slow down and not focus on the distance covered.
If you have any questions regarding the above, please send us an email or message, we always love answering questions.
Instagram: @followingthefreyers
following.freyers@gmail.com
Take it easy and enjoy the trip.